
Transform Your Floor: Seal Gaps for Cosier, Quieter Rooms
If you live with original timber floors, you’ll know they’re more than just boards underfoot. They’re part of your home’s story—warmed by winters, scuffed by parties, and seasoned by everyday life. But age has a habit of opening old wounds, and nothing shouts “neglected” like chilly gaps between floorboards. Those slivers let in draughts, swallow loose change, invite dust, and nibble away at your energy bills—while your beautiful floor looks more tatty than timeless.
There’s a discreet, craftsmanlike cure that doesn’t ask you to carpet everything or slap down a layer of plastic-looking laminate. It restores comfort, quiet, and elegance—without sacrificing the character you love. This article is your complete, plain-English guide to how it works, what to expect, and why it’s one of the highest-impact improvements you can make to a period home or any timber-floored property.
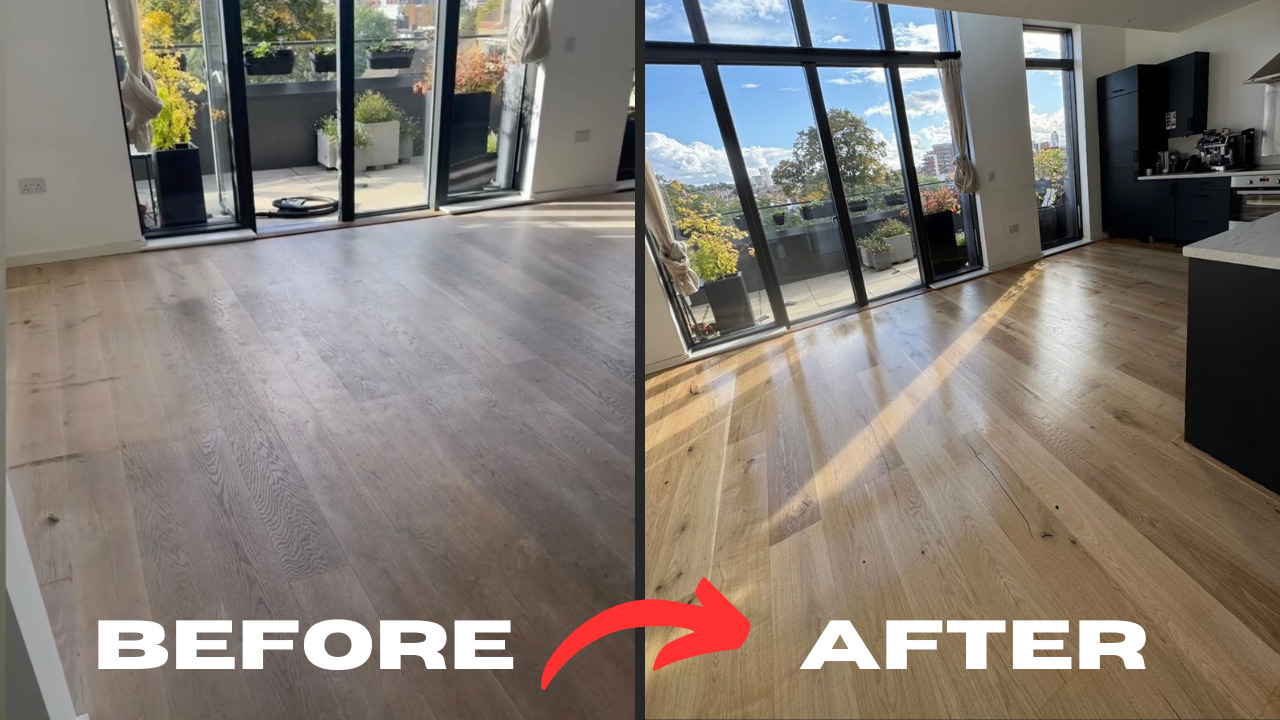
Why floorboard gaps happen
Timber is a living material. Even decades after felling, wood moves with the seasons:
- Shrink–swell cycles: Dry winters and heated rooms pull moisture from wood fibres, shrinking boards and widening seams. Summer humidity nudges them back again.
- Historic repairs: Over the years, plumbers, electricians or enthusiastic DIYers lift individual boards. When they’re put back poorly—or replaced with slightly narrower stock—new gaps appear.
- Loose fixings: Old cut nails loosen; boards lift and chatter, creating squeaks and micro-gaps that telegraph through finishes.
- Subfloor conditions: Poor ventilation or damp encourages cupping or crowning. As boards distort, uniform spacing becomes a jigsaw of irregular seams.
None of this is a reason to give up on original floors. It’s a reason to treat them respectfully and intelligently.
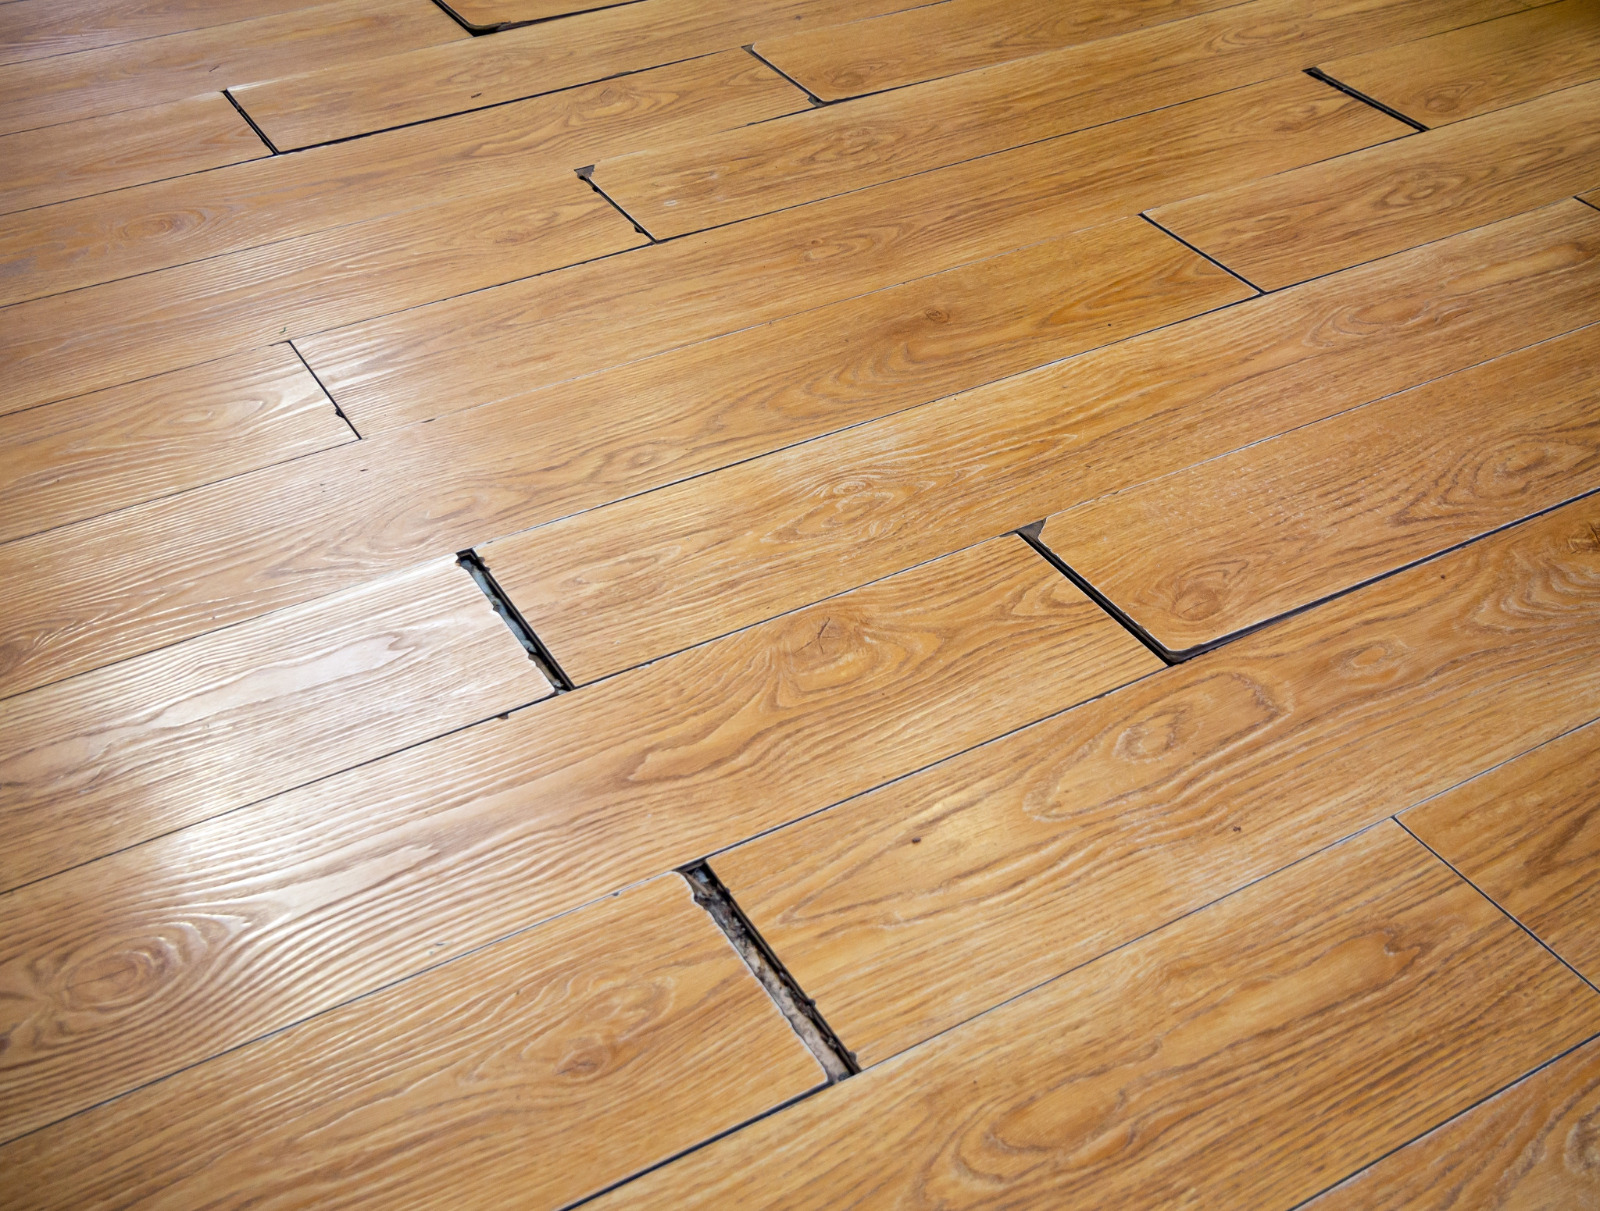
The hidden costs of gappy floors
You notice the gaps, of course. But you also feel them:
- Cold, creeping draughts: Air is lazy; it flows wherever you give it a route. A web of floorboard gaps is a motorway for cold air from voids and basements.
- Dust and debris: Everything from plaster specks to pet hair disappears into crevices and finds its way back out whenever you hoover or walk.
- Noise transmission: Gaps behave like little acoustic leaks between rooms and floors.
- Pest paths: In older homes, wider seams can be pathways for the odd unwelcome visitor from the void.
- Visual clutter: A field of thin dark lines chops up the look of a room, making even spacious spaces feel busy and unfinished.
- Higher energy spend: Sealing the shell of your home isn’t just about windows and doors. Floors are part of the envelope too.
Close the seams and you don’t merely improve looks; you change how the room behaves.
What exactly is the method?
In simple terms, specialist technicians machine slender wooden slivers—often from matching species like pine or oak—and set them into the gaps between floorboards using a high-quality adhesive. Once cured, the slivers are planed or sanded flush, and the whole floor is sanded and refinished. The result is seamless, stable, and sympathetic to the original architecture. Where gaps are hairline, a professional-grade flexible filler may be used; where they’re larger or irregular, timber slivers are the gold standard for longevity and appearance.
Think of it as keyhole surgery for your floor: minimal fuss, maximum result.
To keep your reading smooth, we’ll refer to this approach using the shorthand you came for: Gap Strip Magic.
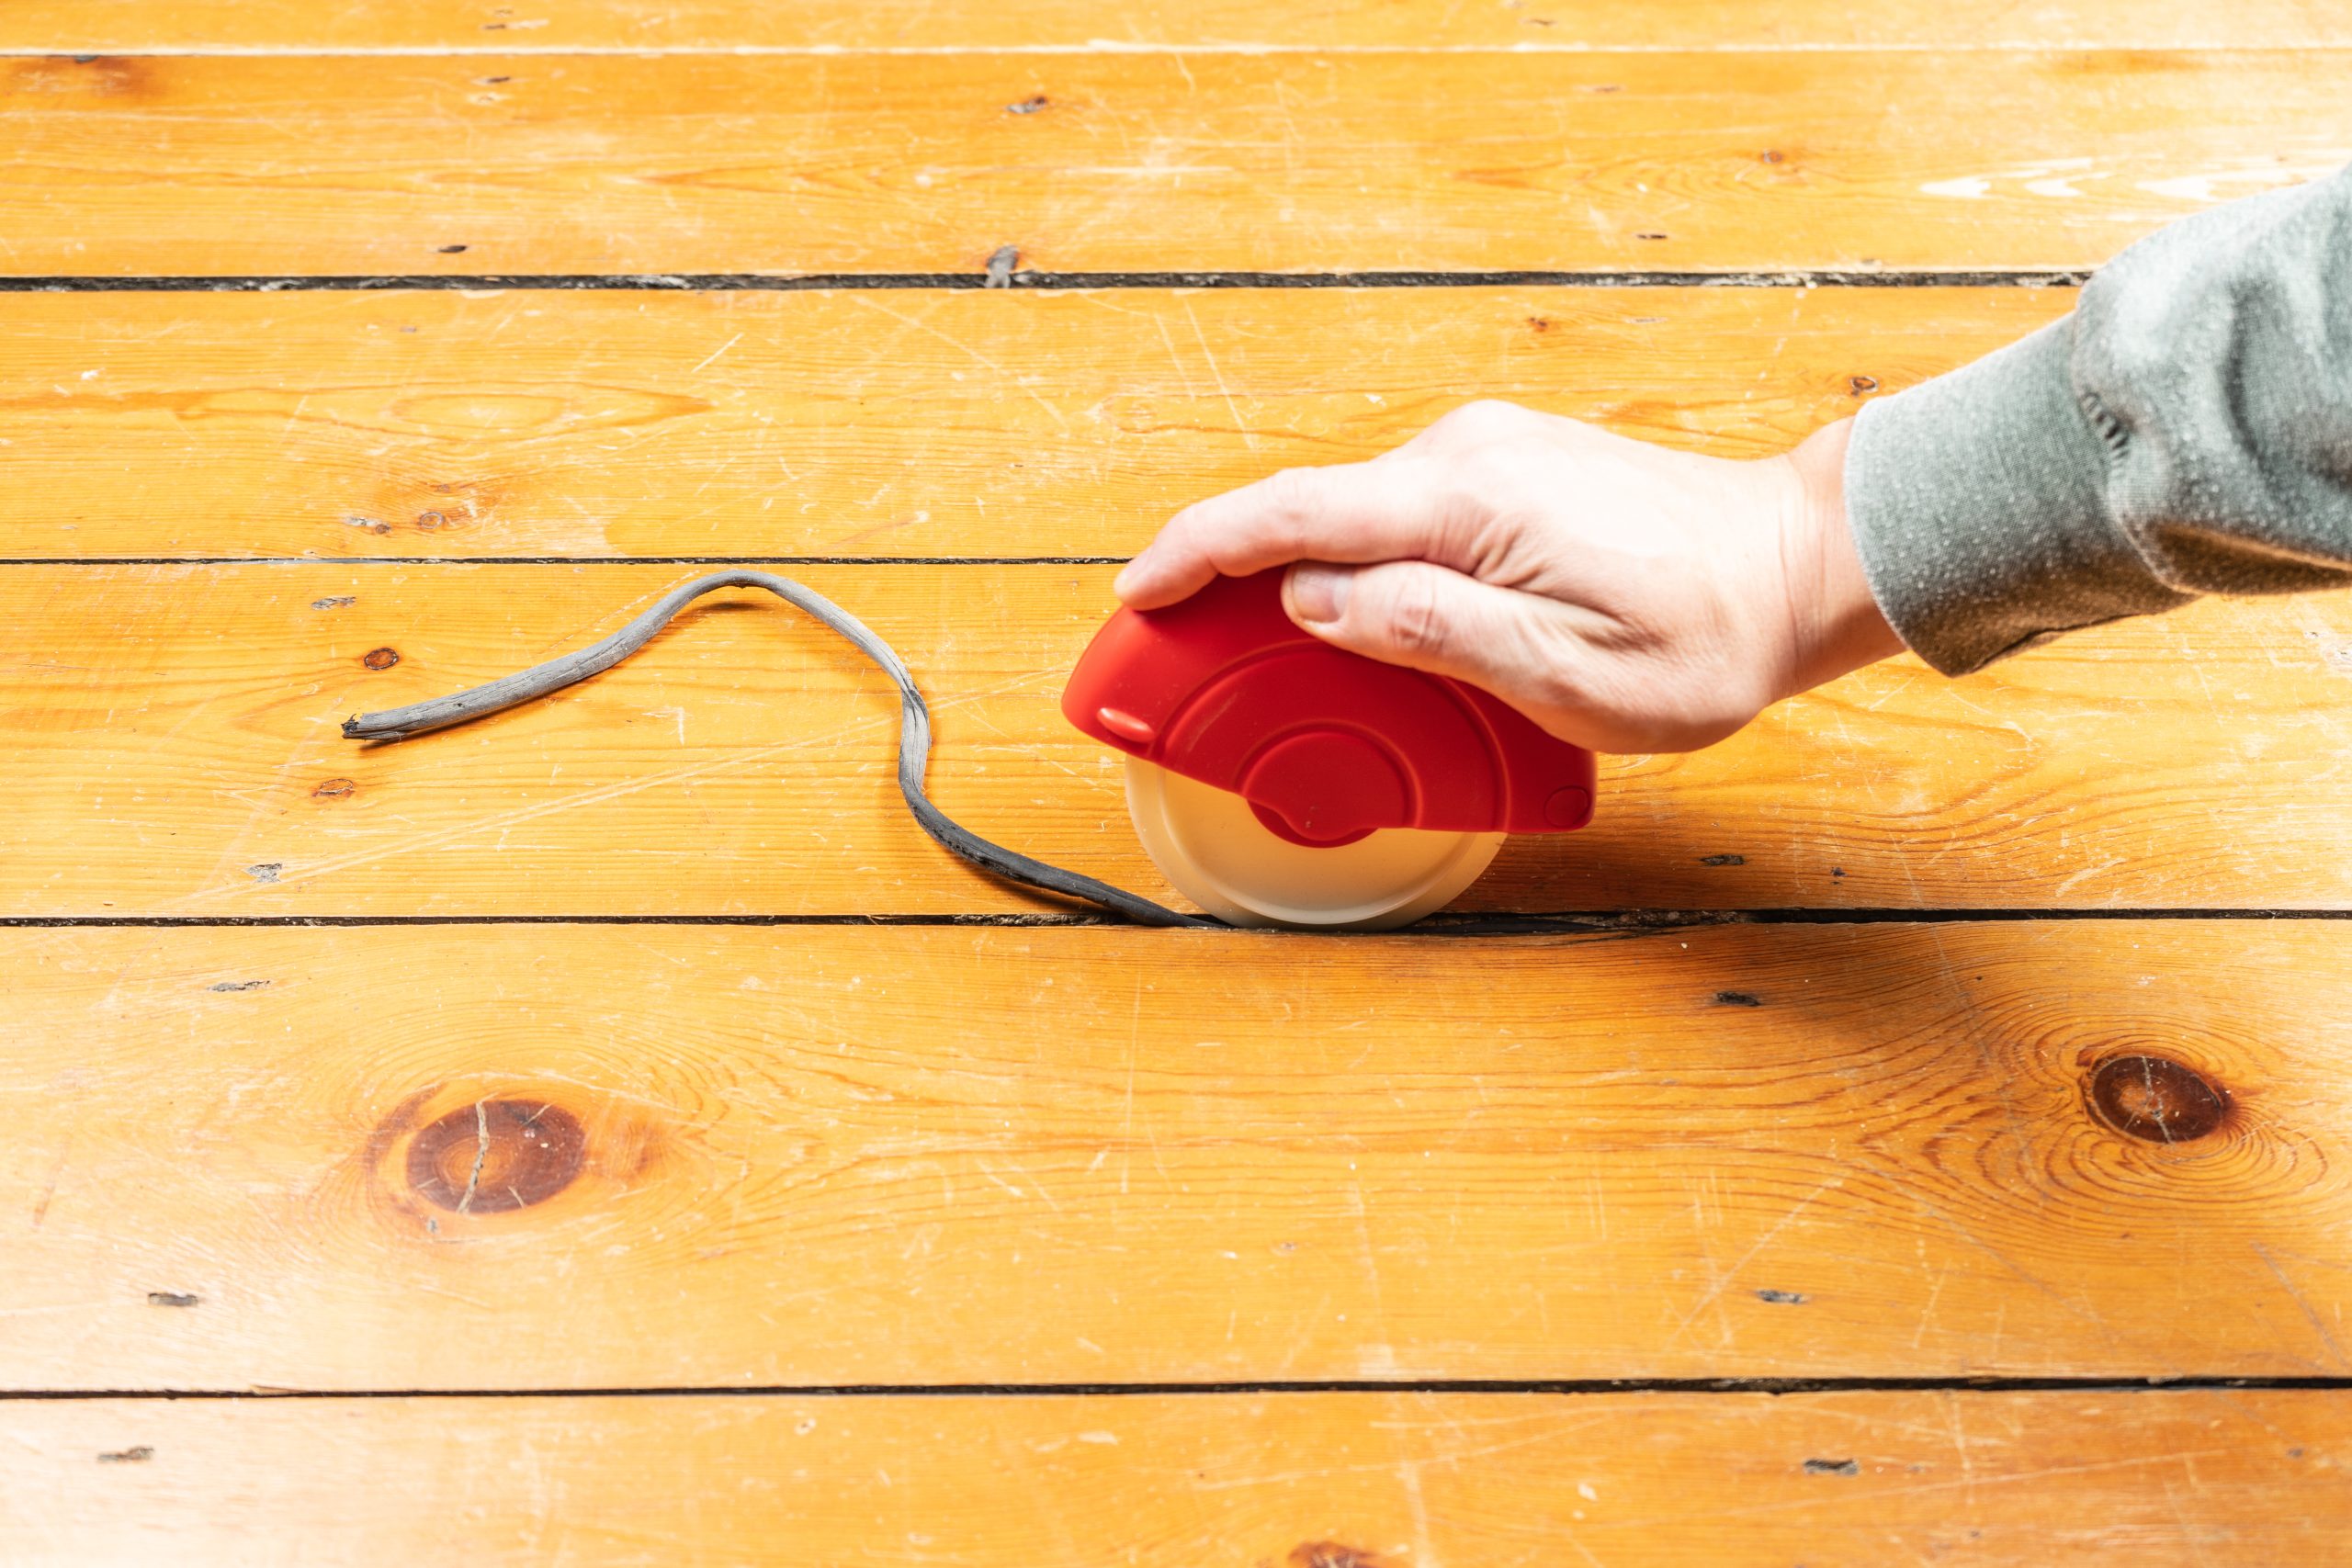
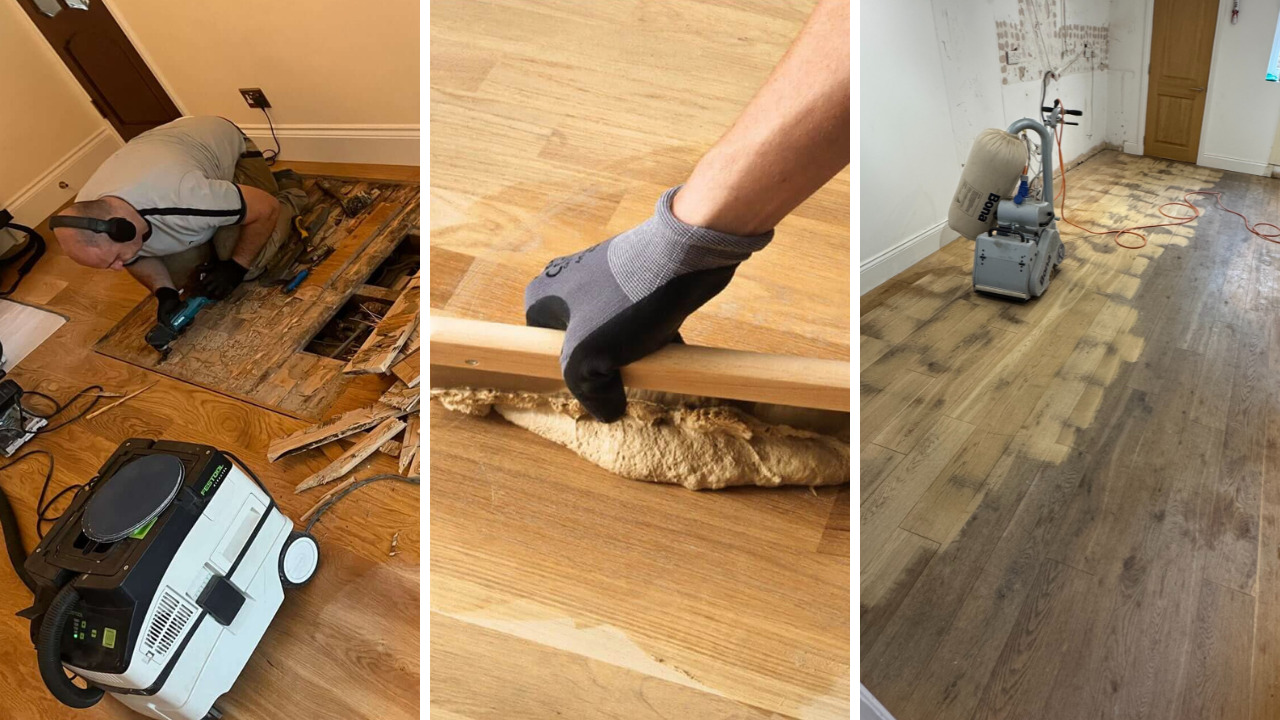
The step-by-step: from draughty to delightful
1) Assessment and planning
A proper job starts with a careful survey. The technician checks for loose boards, proud nails, cracked tongues, evidence of damp, and ventilation in the subfloor. They’ll use moisture meters and look at your heating patterns and room usage. The aim is to choose the right combination of slivers, fillers, and fixes—and to ensure the floor will tolerate seasonal movement after the work.
2) Preparation and repairs
Before any gap work, squeaks are tackled by re-fixing boards with cut nails or discreet screws (often “secret-screwed” at an angle through the tongue). Any split boards are repaired or sympathetically replaced using reclaimed stock where possible. Nails are punched below the surface; protrusions that could tear sandpaper are dealt with now, not later.
3) Making the slivers
Quality slivers are not crude wedges from a random timber offcut. They’re thin, tapering strips machined to fit the actual gap profile. Matching the species helps ensure colour and grain continuity across the finished floor. For particularly wide, irregular seams, two or more slivers might be feathered together for an invisible result.
4) Adhesive application
Modern adhesives are strong, resilient and designed for wood movement. A premium, moisture-resistant PVA or polyurethane is laid in a controlled bead to bond sliver to both boards. The goal isn’t to “freeze” the floor; it’s to unify it so adjacent boards move as friends, not strangers.
5) Setting the slivers
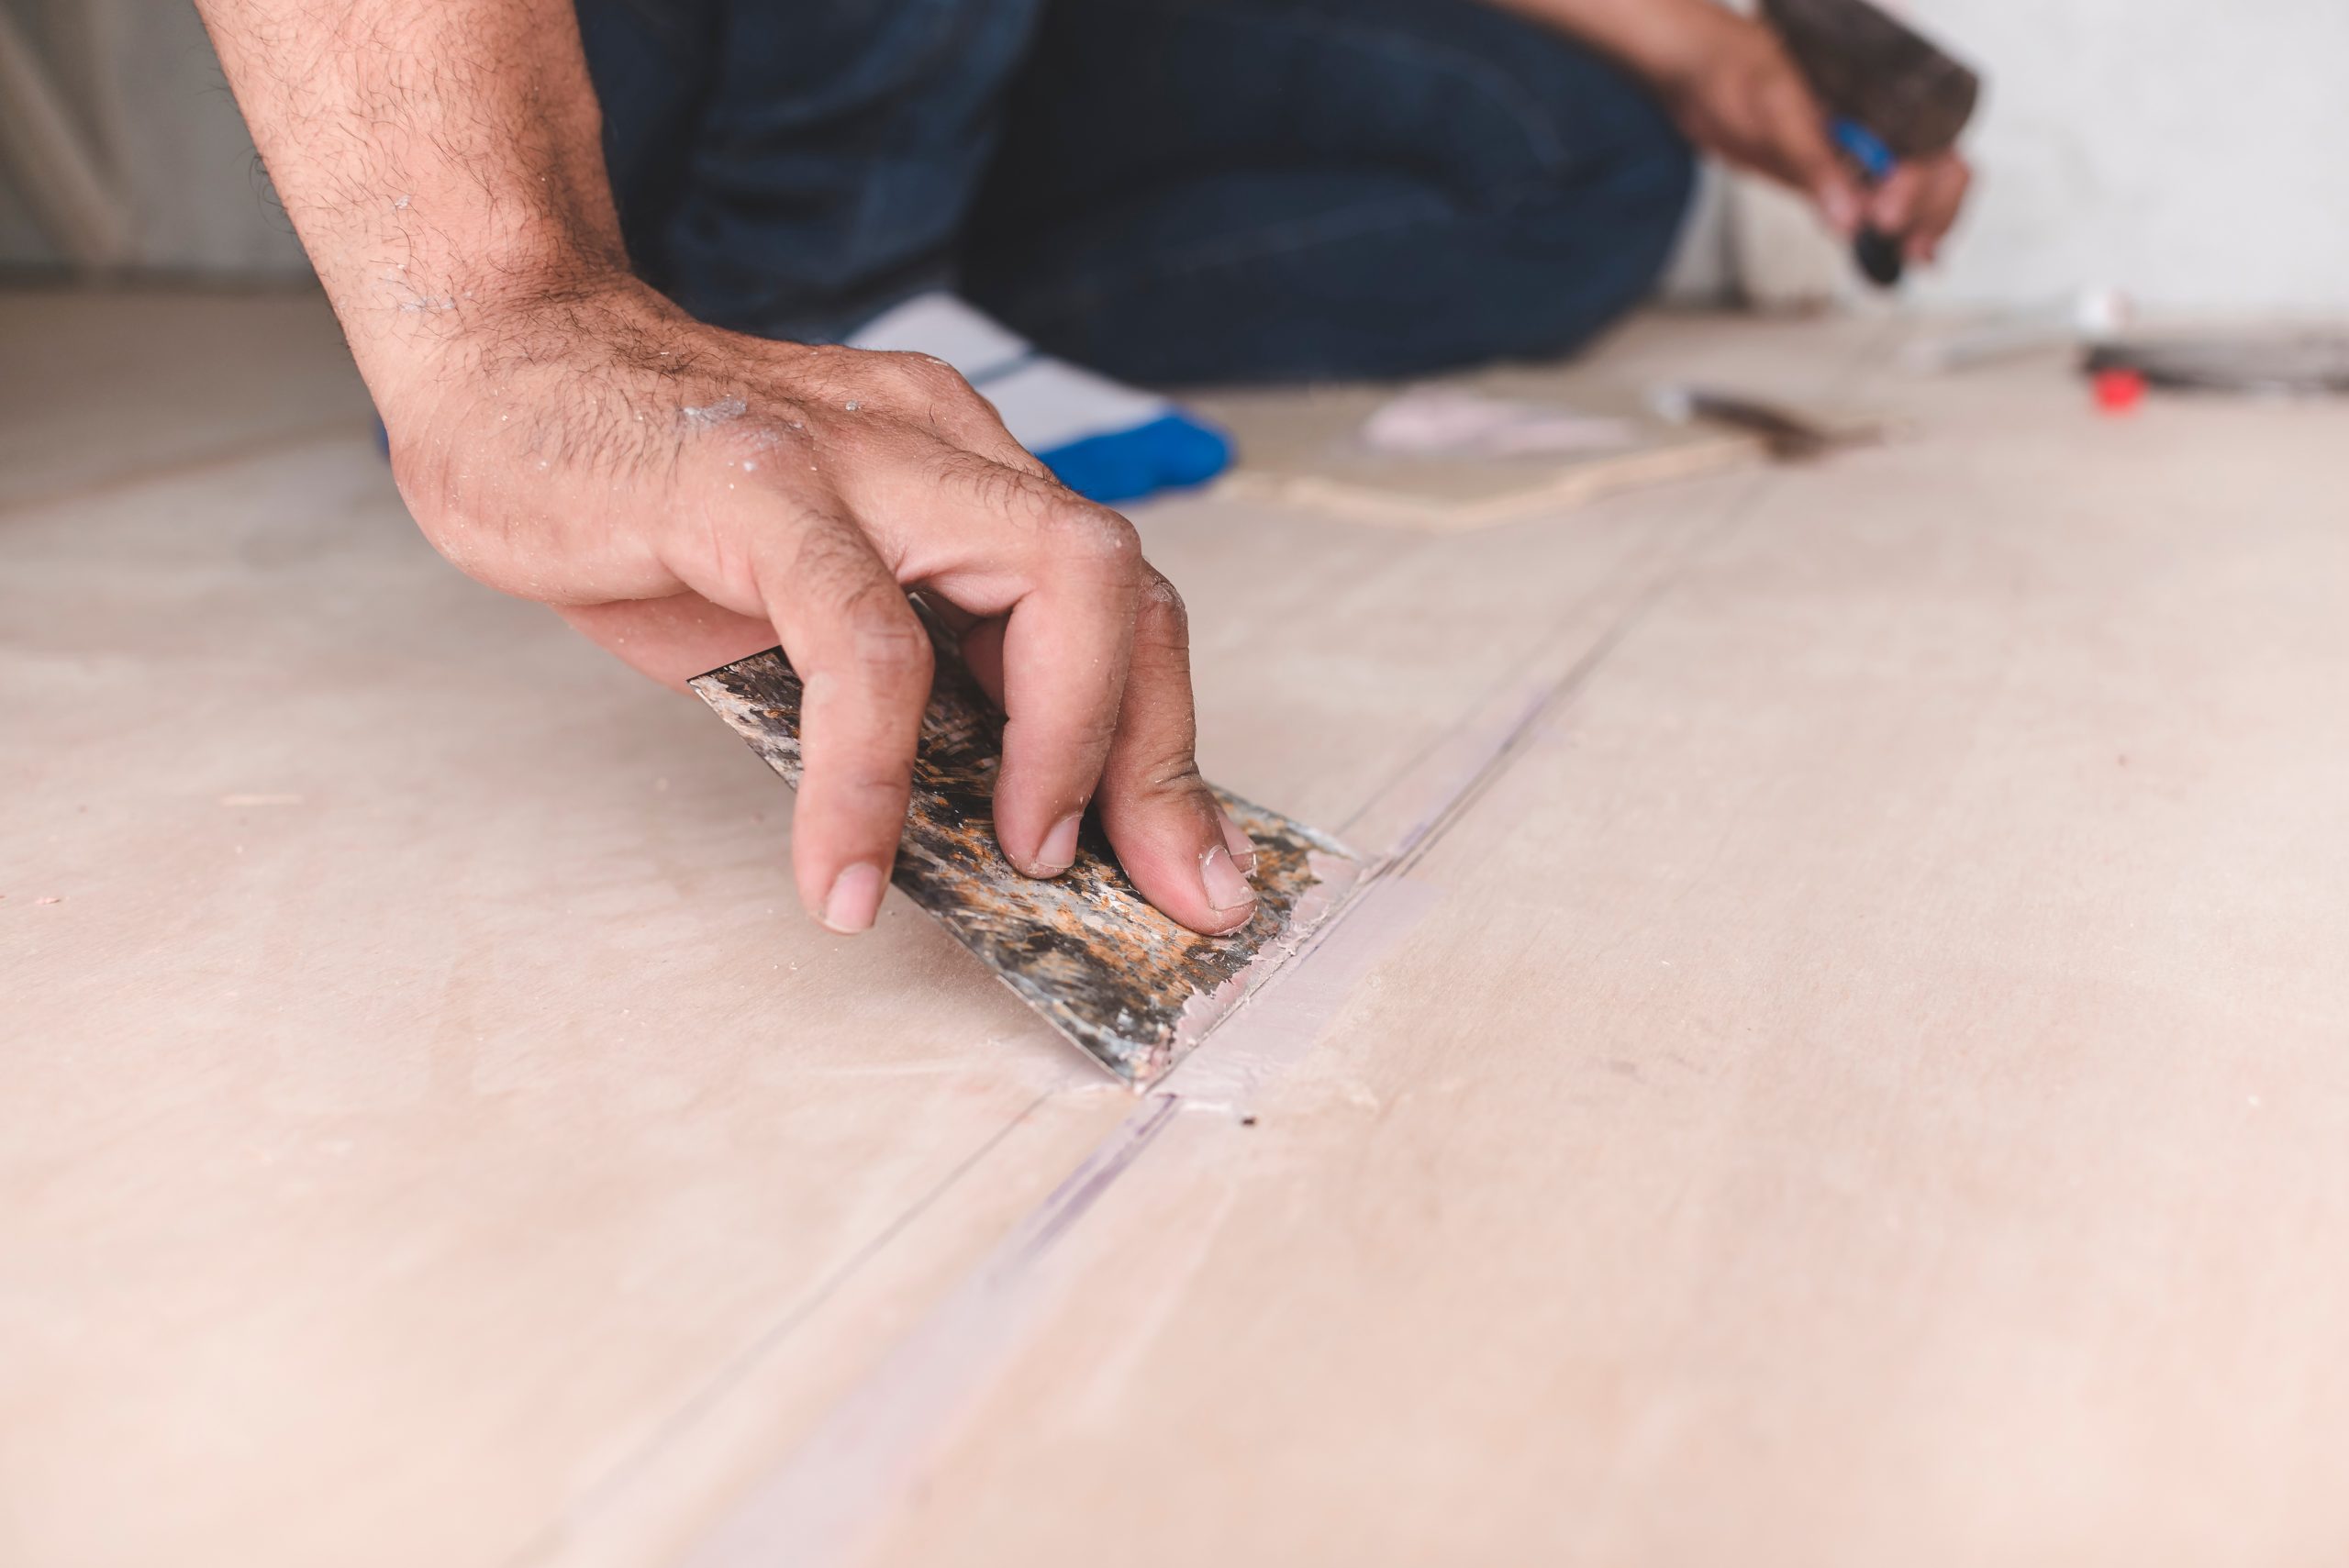
Each sliver is gently tapped in, grain aligned with the boards. Excess adhesive is removed immediately to prevent staining. Where the gap narrows along its length (common in Victorian floors), the sliver is trimmed to fit like a key in a lock.
6) Flush and finish
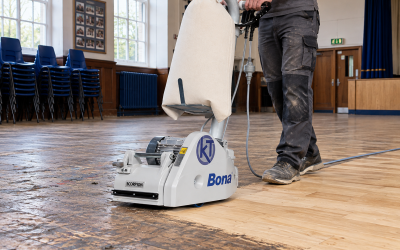
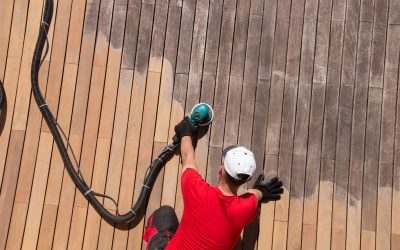
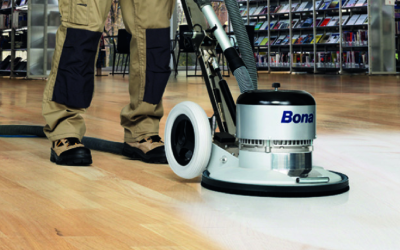
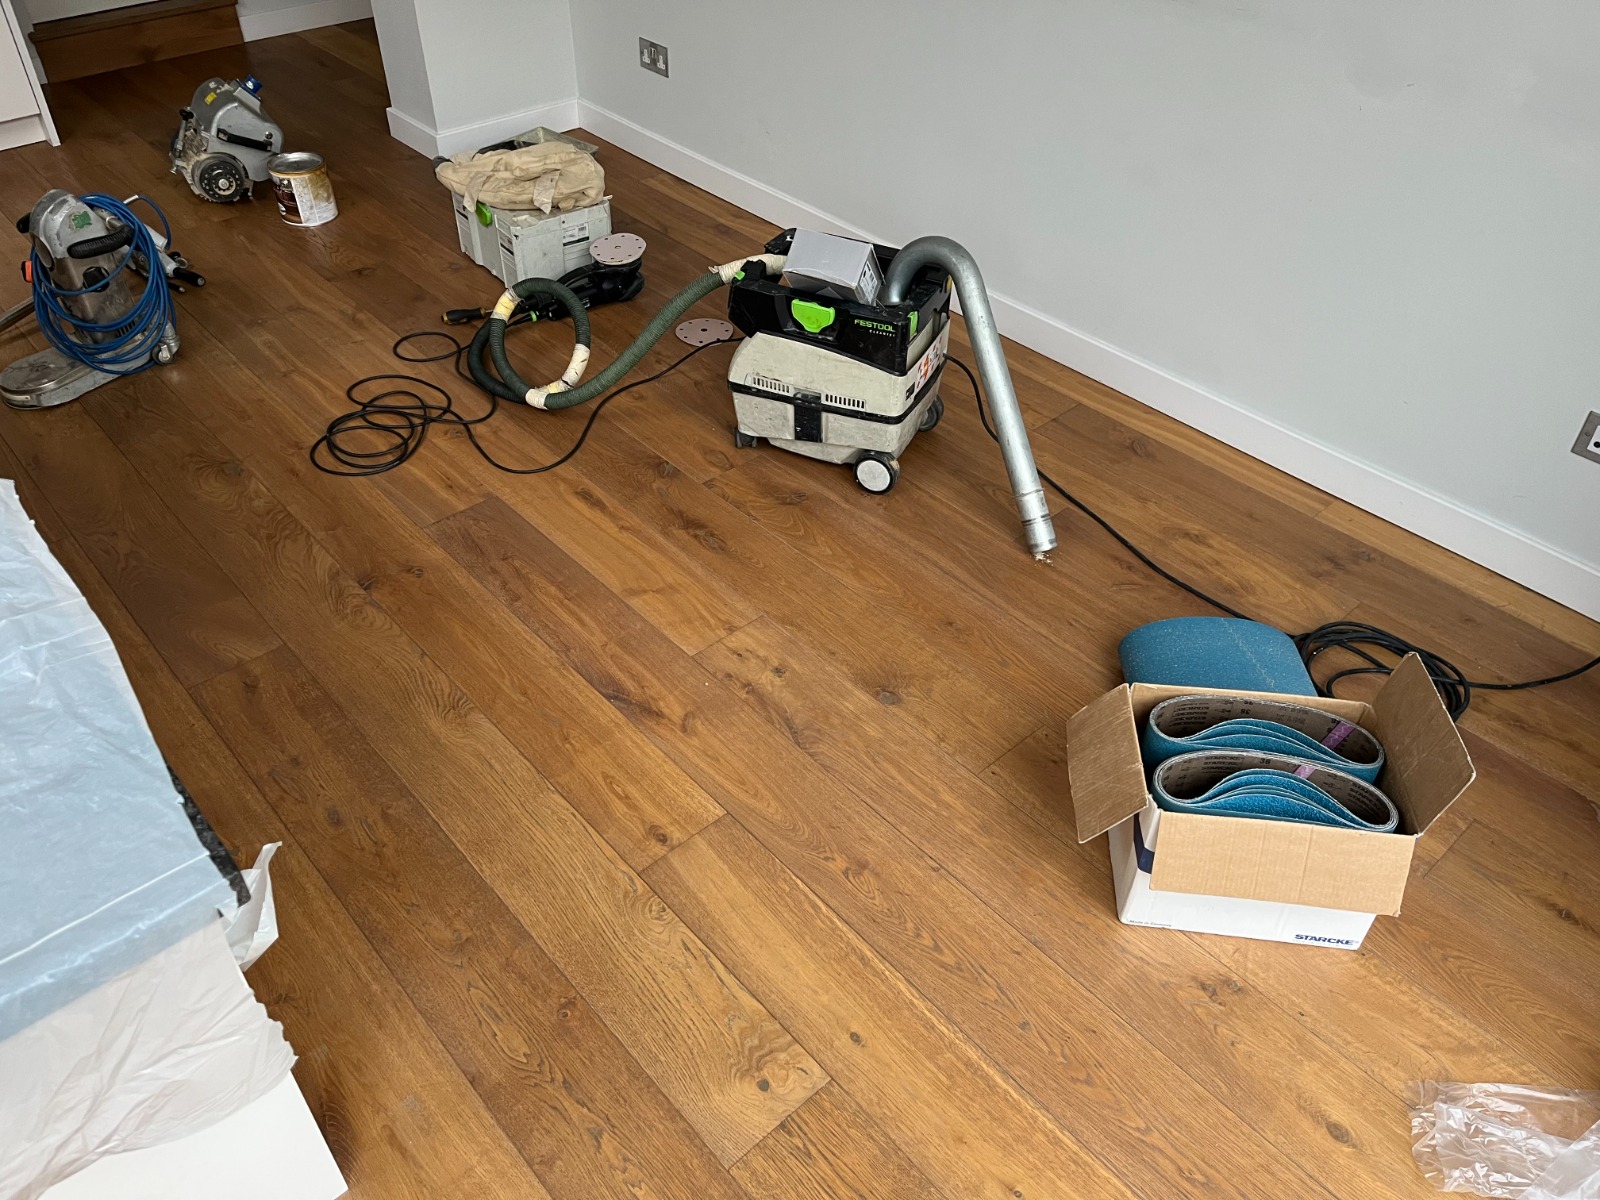
Once cured, the slivers are planed flush if needed. Then comes professional sanding through the grits—coarse to remove old finish and level, medium to refine, and fine to prepare for the new coating. Edges and corners are detailed so the field and perimeter match beautifully.
7) Coating for protection
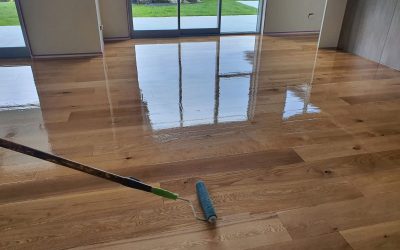
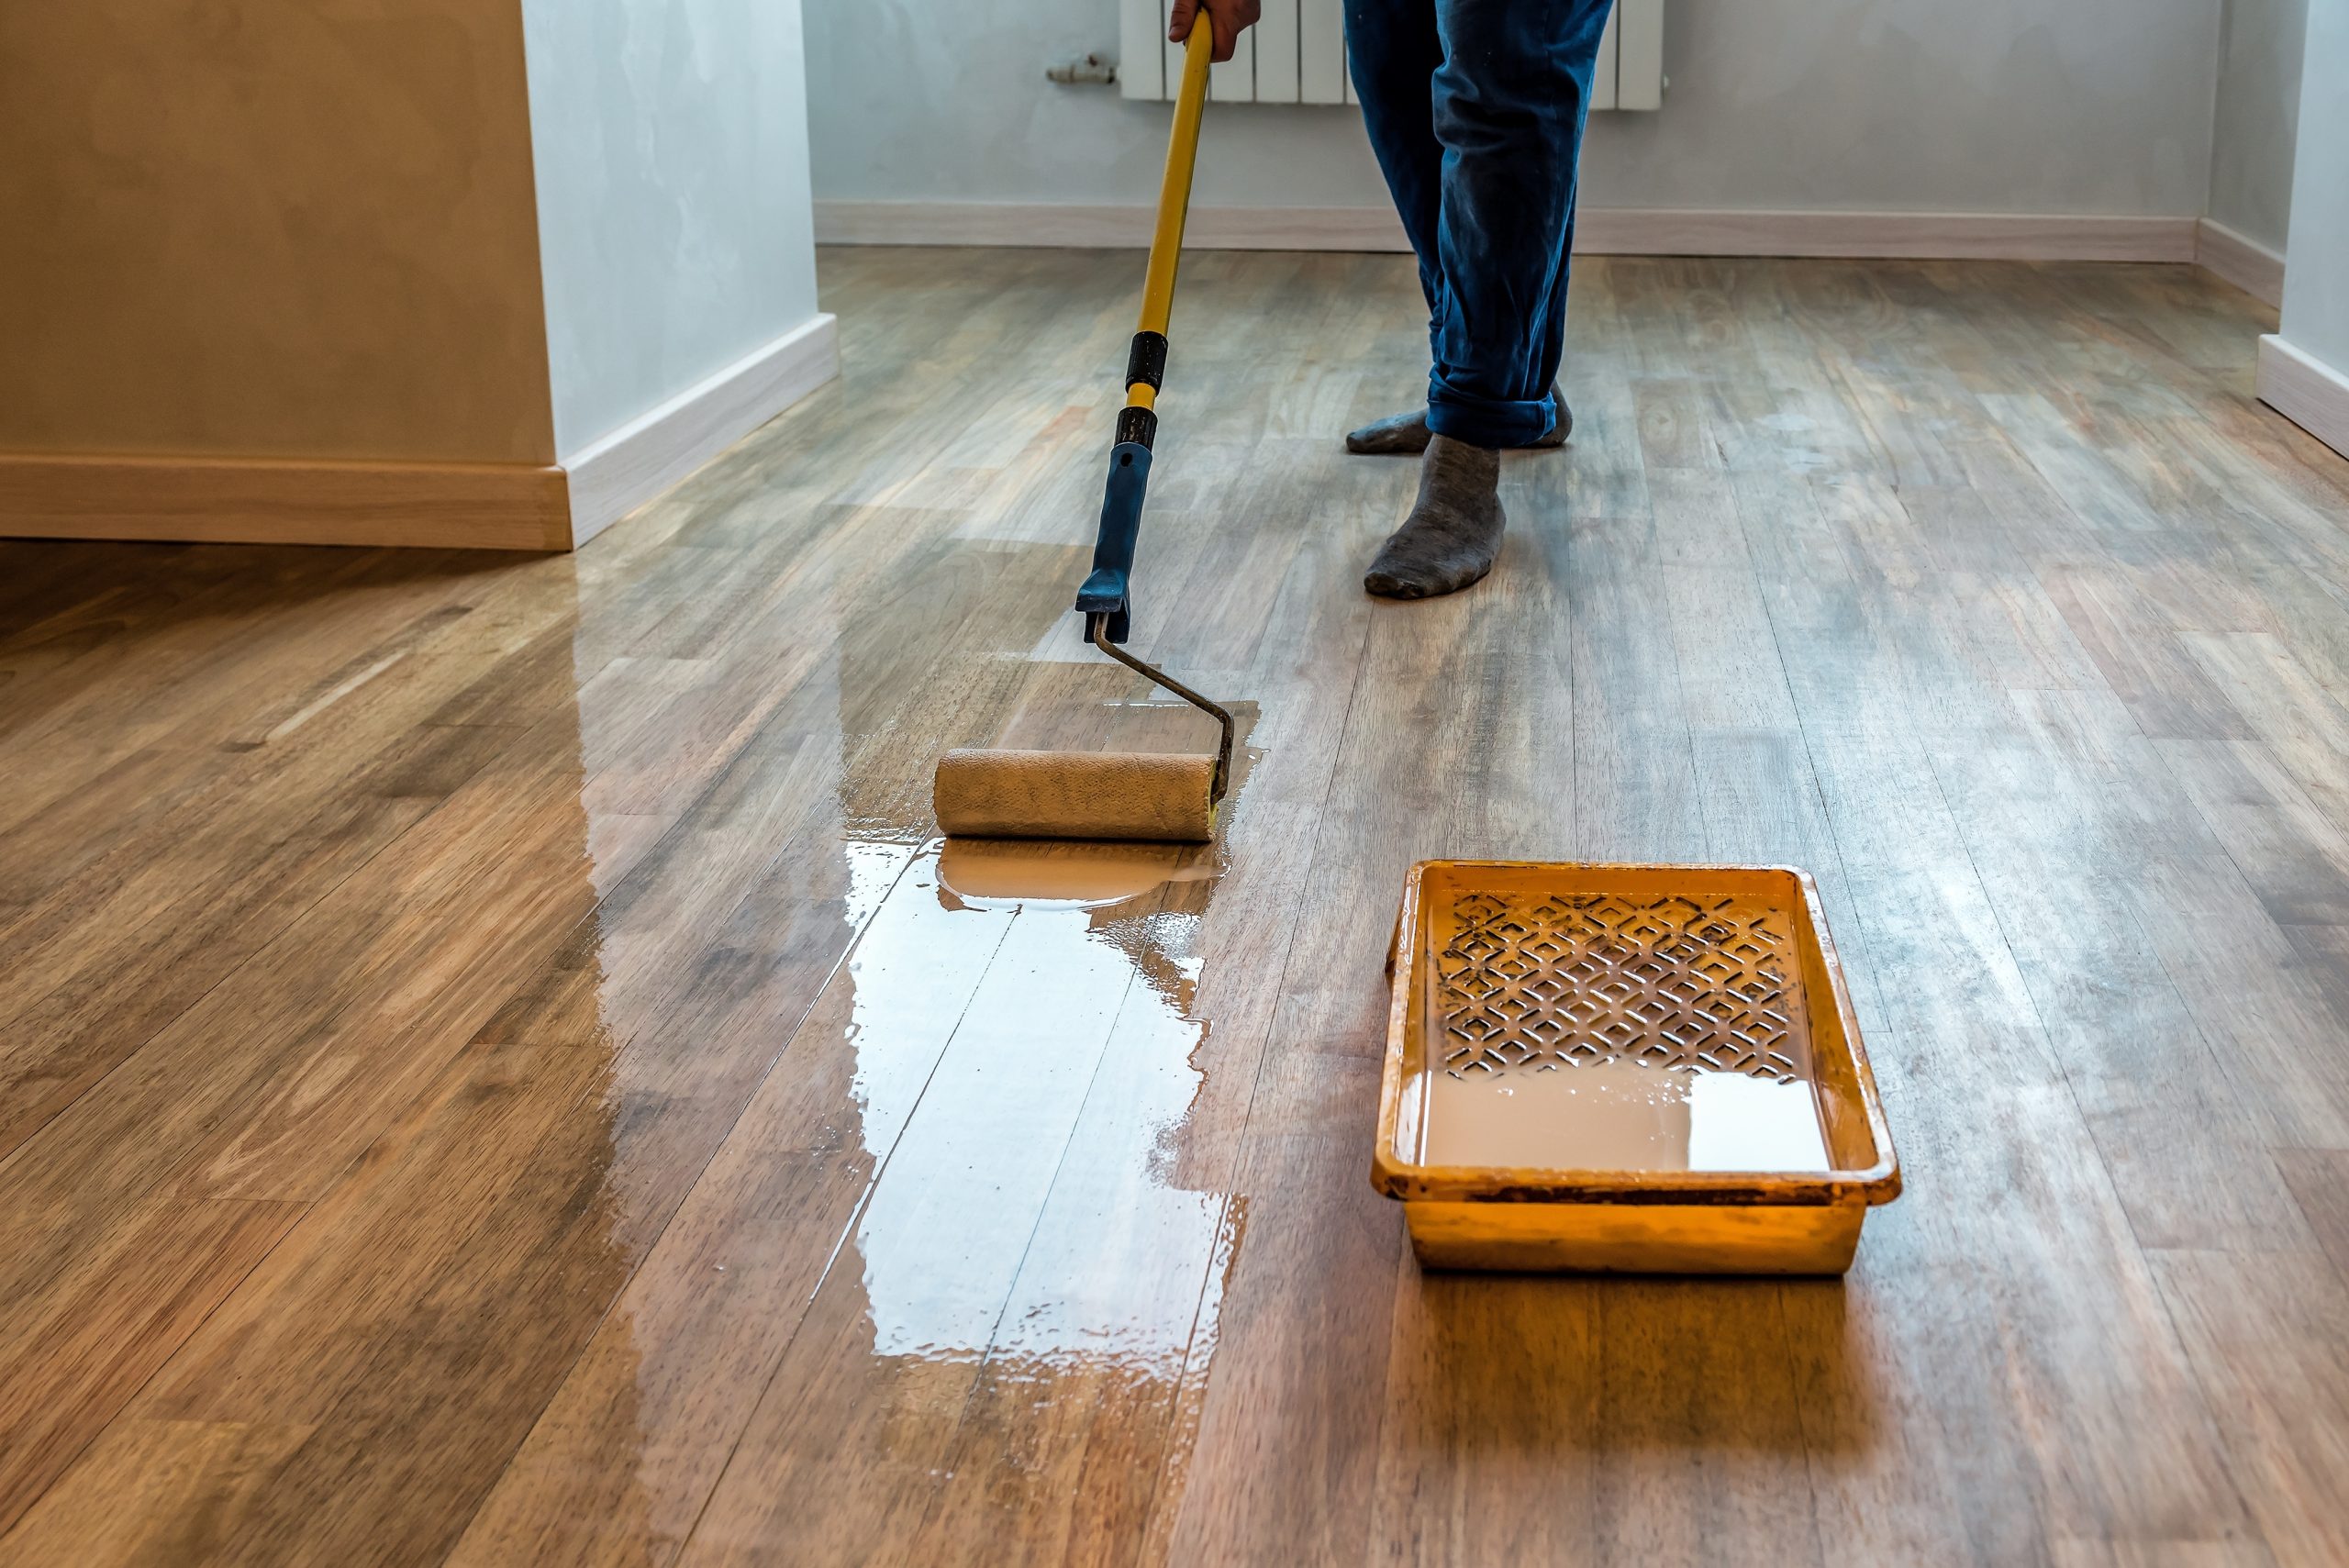
You’ll choose a finish that suits your lifestyle: hardwax oil for a natural, repairable look; lacquer (varnish) for excellent durability with low maintenance; or penetrating oils for a traditional, warm sheen. Each interacts with light differently, which is why you should always view real samples on your floor.
8) The tidy-down
A good team leaves your home as they found it—minus the draughts and the dust traps. Expect edges neatly sealed at skirting (while maintaining expansion gaps where needed), furniture pads supplied, and clear aftercare guidance.
Throughout, the Gap Strip Magic treatment prioritises neatness, structural respect, and long-term stability.
Materials that matter
All gap-closing is not equal. The details decide whether you’re still smiling in five winters’ time.
- Sliver species: Match or complement. Pine slivers for softwood floors; oak slivers on oak boards. On mixed or stained floors, grain direction is more important than perfect colour at day one—stain and finish even out tone.
- Adhesives: Choose flexible strength. Brittle glues can shear as boards move; cheap caulks shrink and crack.
- Perimeter strategy: Between boards and skirting, leave a discrete expansion allowance and use an appropriate flexible seal. Timber floors need to breathe and move.
- Ventilation checks: Closing gaps won’t fix an underlying damp or airflow problem. If your subfloor needs more vents, do that first.
- Finishes: Hardwax oils are wonderfully repairable; modern lacquers are tough and easy to live with. Both can be low-VOC, child- and pet-friendly.
The benefits you’ll feel from day one
Warmer, cosier rooms
Seal those seams and your toes will tell you the truth long before the next energy bill does. Draughts are cut dramatically; rooms hold heat, and floors feel nicer underfoot.
Cleaner lines and easier cleaning
With gaps closed, crumbs and grit sit on the surface, not in a crevasse. Your vacuum suddenly feels competent again.
Quieter, calmer spaces
A unified floor has fewer squeaks and less rattle. Sound doesn’t leak through gaps quite so readily, restoring some hush.
Elegant, continuous grain
Timber slivers maintain the visual language of the floor. After sanding and finishing, the surface reads as one calm plane.
Value that shows
Buyers clock two things fast: temperature and tidiness. Closing gaps improves both. It’s a small project with a big “feel” dividend.
After Gap Strip Magic, even well-used rooms suddenly look styled, not tired.
DIY vs professional: who should do it?
Could you DIY? If you’ve got time, patience, a decent planer, dust control, and a steady hand for adhesives, you can attempt small areas. But floors are large, prominent, and unforgiving. Mis-sized slivers telegraph through finishes. Poor glue control stains timber. Inconsistent sanding leaves ripples visible in raking light.
When to call a pro
- Room is large or heavily gapped
- You have mixed gap sizes and strange angles
- You’re already investing in full sanding and refinishing
- You want a guarantee and a clean, rapid turnaround
A good contractor brings not just tools but judgement: where to sliver, where to use flexible filler, when to replace a damaged board, and how to sequence the work so your home life is minimally disrupted.
Myths, gently debunked
“Won’t it stop the floor moving and cause damage?”
No. Properly installed slivers and adhesives manage movement by bonding neighbouring boards so they move together. Perimeter allowances and the elastic properties of adhesives accommodate seasonal change.
“Isn’t it inauthentic?”
What’s more authentic: a floor that behaves and presents as it did when new, or one riddled with gaps born from neglect and shrinkage? Timber slivers are a period-appropriate, reversible, and sympathetic repair.
“Will the slivers pop out?”
Not if gaps are prepped correctly, adhesives are chosen intelligently, and the floor isn’t subjected to wild humidity swings. Respect the aftercare and they’ll be as steadfast as any board.
When done as Gap Strip Magic, the method is time-tested and robust.
Pairing with the right finish
Hardwax oil:
- Warm, natural look
- Spot-repairable for busy households
- Needs periodic refresh (a breeze compared with full resand)
Lacquer (varnish):
- High durability and stain resistance
- Minimal upkeep; great for kitchens and hallways
- Choose a modern, matt lacquer for a natural appearance
Penetrating oils:
- Traditional feel
- Deeply nourishes timber
- More regular maintenance but wonderfully tactile
Your choice depends on how you live, not on what’s fashionable on Instagram this week.
Aftercare that protects your investment
- Manage humidity: Aim for 40–60% RH. A simple humidifier in winter or ventilation in summer can prevent extremes.
- Use mats and pads: Coir at the door to trap grit; felt under chairs—micro-scratches are the enemy of beautiful finishes.
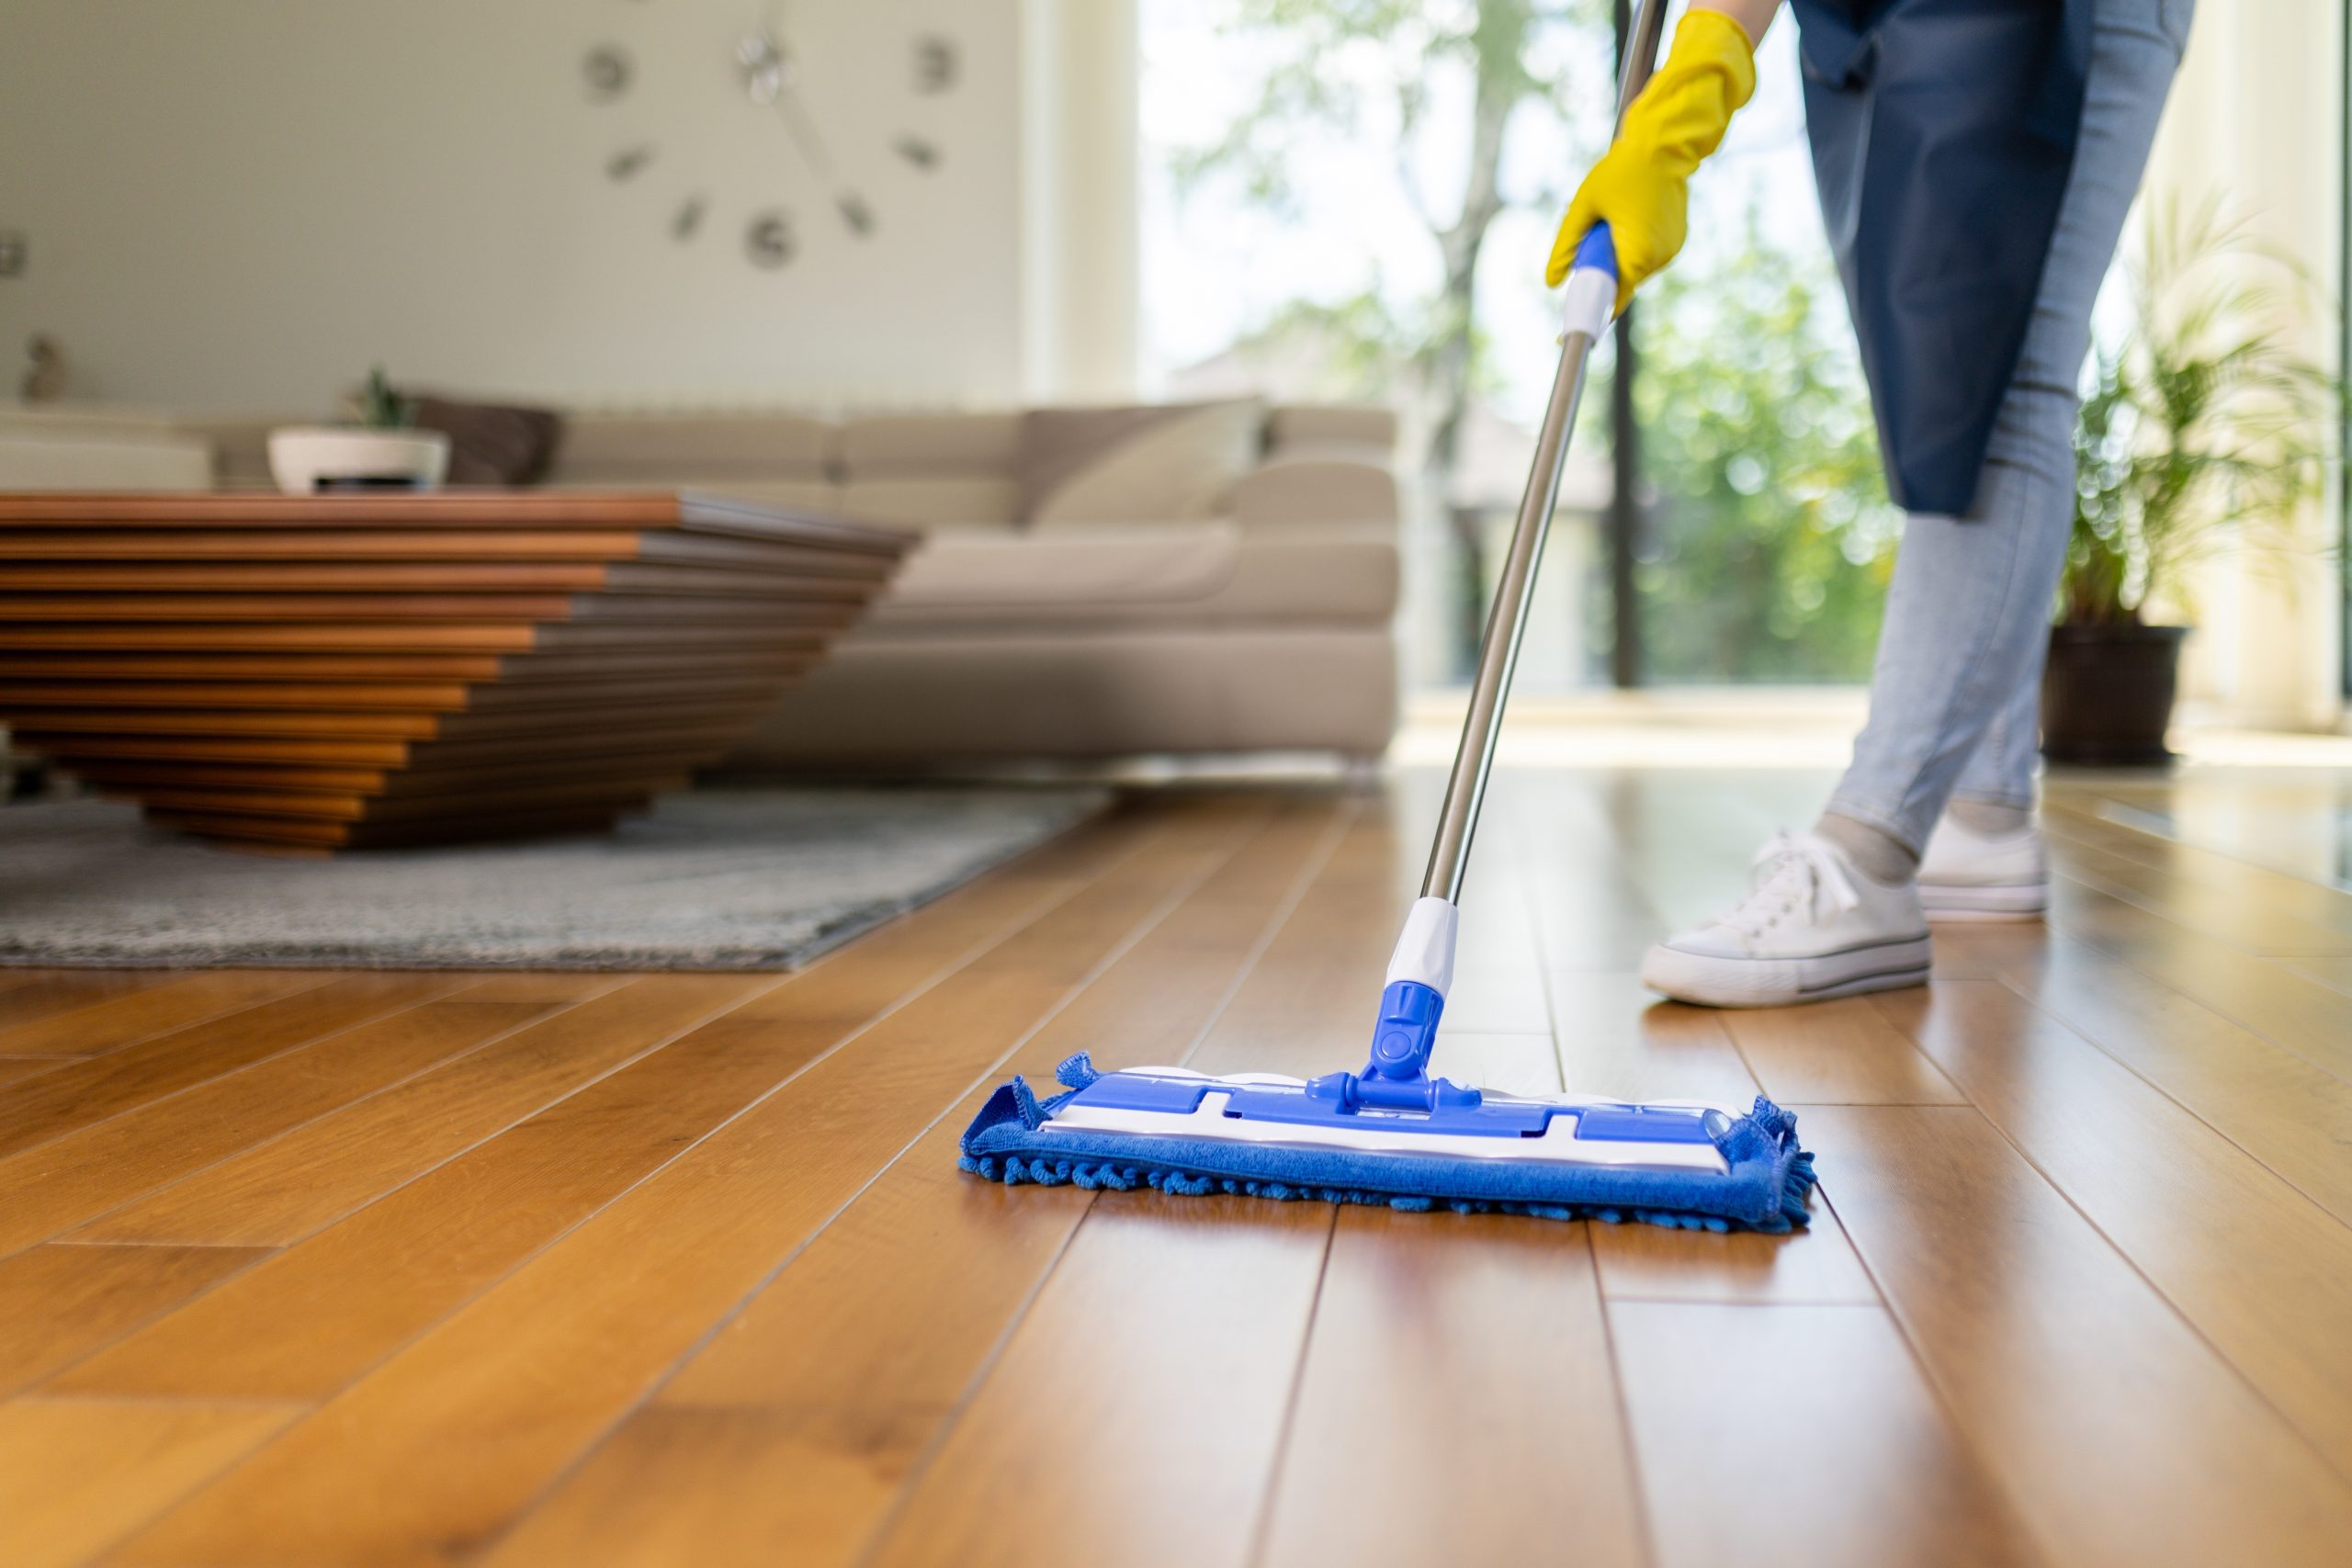
- Clean smart: Vacuum with a soft brush; damp-mop with a pH-neutral wood cleaner. No steam.
- Refresh on schedule: Hardwax oil benefits from a maintenance coat before wear breaks through; lacquered floors prefer gentle cleaners and, eventually, a light abrade-and-recoat to avoid a full resand.
Follow these rules and you’ll extend the life of the floor and the beauty of the work.
Three quick snapshots
1) The draughty terrace
A Victorian front room with 4–6 mm gaps, rattly boards and a fireplace that acted like a chimney for cold air. Slivers unified the floor, invisible after finish; the room felt instantly calmer and measurably warmer.
2) The stylish flat
A top-floor apartment with pine boards stained dark years ago. Gaps were hairline to 3 mm, so a mixed approach was used—slivers where needed, flexible filler elsewhere. The dark finish now reads as a continuous, inky sheet. The owner says the hoover bag lasts twice as long.
3) The busy kitchen
Oil-finished oak with pronounced seasonal movement. Carefully selected oak slivers stabilised wider seams; a tough matt lacquer replaced the old oil for easier spill resistance. The look is crisp; the maintenance, simple.
Each result owes its success to materials, method, and the craftsmanship that defines Gap Strip Magic.
Sustainability and common sense
Sealing gaps is a green choice in the plainest terms. You retain existing materials, avoid the carbon cost of new coverings, and reduce heat loss through the floor—adding comfort without throwing anything away. With low-VOC finishes and mindful site practices, it’s a renovation that looks after your home and the planet.
What it costs (and what it’s worth)
Prices vary with room size, gap complexity, and whether sanding and finishing happen at the same time (they usually should). But however you slice it, closing gaps is one of those quietly transformative upgrades—like fitting proper blinds or insulating a loft—that pays back in feel, function, and saleability. You’ll notice it every single day.
Ready to love your floors again?
If the seams in your timber floor make you sigh every time you kick off your shoes, it’s time to act. You don’t need to hide your boards under carpet or resign yourself to chilly ankles. You need a precise, period-sympathetic repair that treats your home with respect and delivers lasting comfort.
Start with an expert survey. Get straight, practical advice. And within a couple of days you could be living with the kind of floor you’ve always imagined—quiet, cosy, clean-lined and eminently civilised. That’s the quiet power of Gap Strip Magic.
Quick FAQ
How long does it take?
A typical room can be completed within a day or two, depending on repairs and the chosen finish’s drying times.
Will I need to move out?
Usually not. Work areas are contained, extraction keeps dust under control, and modern finishes are low-odour. You’ll be advised about traffic-free periods while coatings cure.
Does furniture need to be cleared?
Yes—ideally the room should be empty to allow continuous work and a perfect finish. Many teams can arrange removals and temporary storage if needed.
What if I have underfloor heating?
Timber and UFH can coexist beautifully with the right specification. Expect more seasonal movement; a professional will tailor the approach and finish accordingly.
Can you do stairs and landings?
Absolutely. The principle is the same, with extra care for nosings and edges.
The last word
Floors set the tone. When they’re draughty and gappy, everything else fights to feel finished. Close those seams with craftsmanship, and your home becomes warmer, quieter and more elegant in a single stroke. It’s not a gimmick. It’s common sense, done beautifully.
If you’re ready to trade sorrow in the seams for harmony at home, you already know the name of the cure: Gap Strip Magic.